Online vs. Offline Client
Although the Import tools are included in both the online and offline clients, it is suggested that, if possible, the online client is used for imports. The online client is more powerful and often increases the speed of long operations such as data imports.
Sample Import File
Import Fields
- BSA ID (Either BSA ID/Member # or OALM ID is required)
- OALM ID
- Registered Date
- Role
- Paid Date
- Paid Amount
- Paid In Full (Either "Yes" or "No")
- Payment Method
- Receipt Number
- Check-in Date
- Check-out Date
- Health Form (Either "Yes" or "No")
- Event Notes
Guide for How to Import Attendees Using Excel (.xlsx) or CSV File
Using the Import Attendees tool:
- Select the event and then "Manage."
- Click on the "Import" menu and choose "Import Attendees."

- Either drag the file from your computer onto the browser or click "Select file."
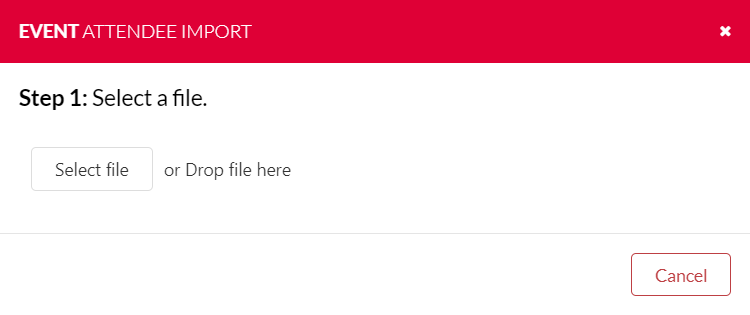
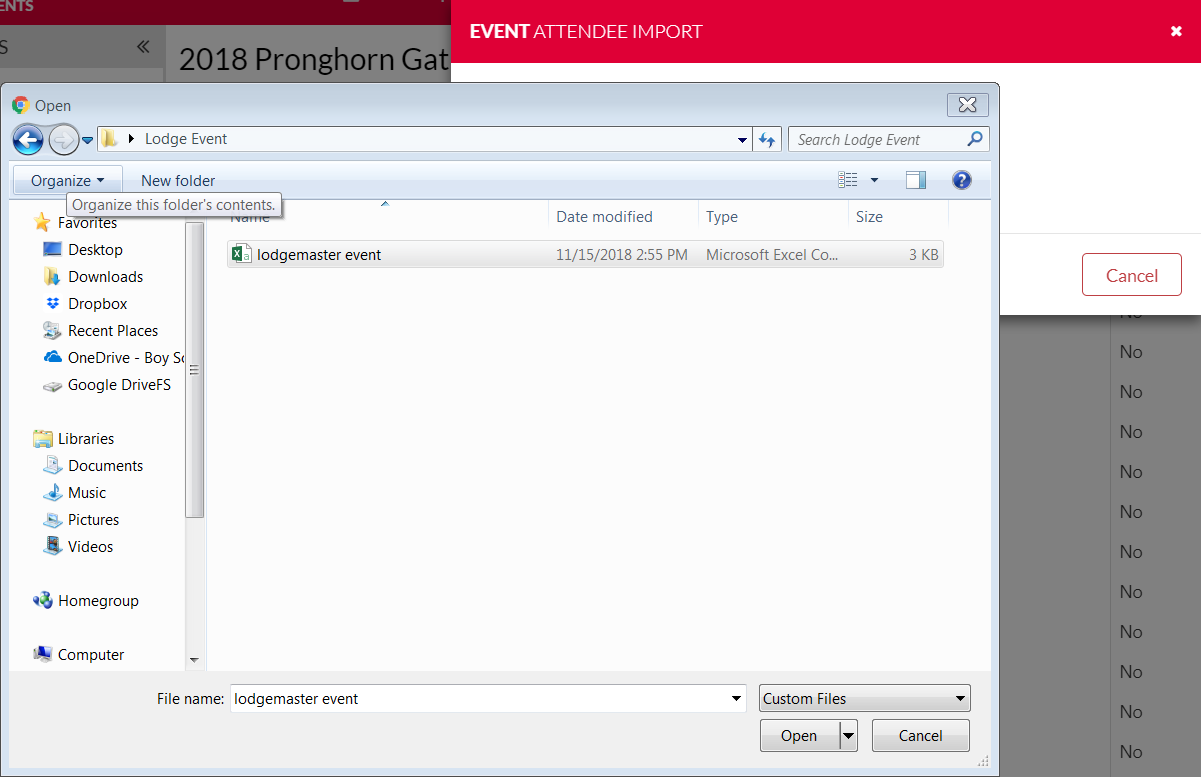
- If you've clicked "Select file" find the file on your computer and select it and then click "Open."
- Once you've selected the file, it will be listed in the dialog box with buttons next to it.
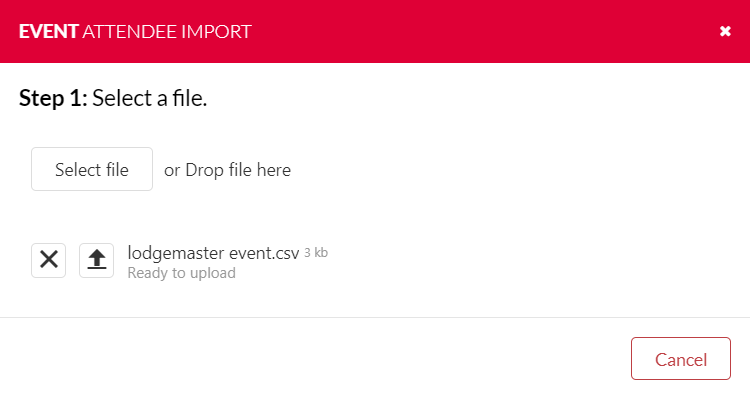
Press the button to remove the file.
Press the button to upload the file and begin processing the file.
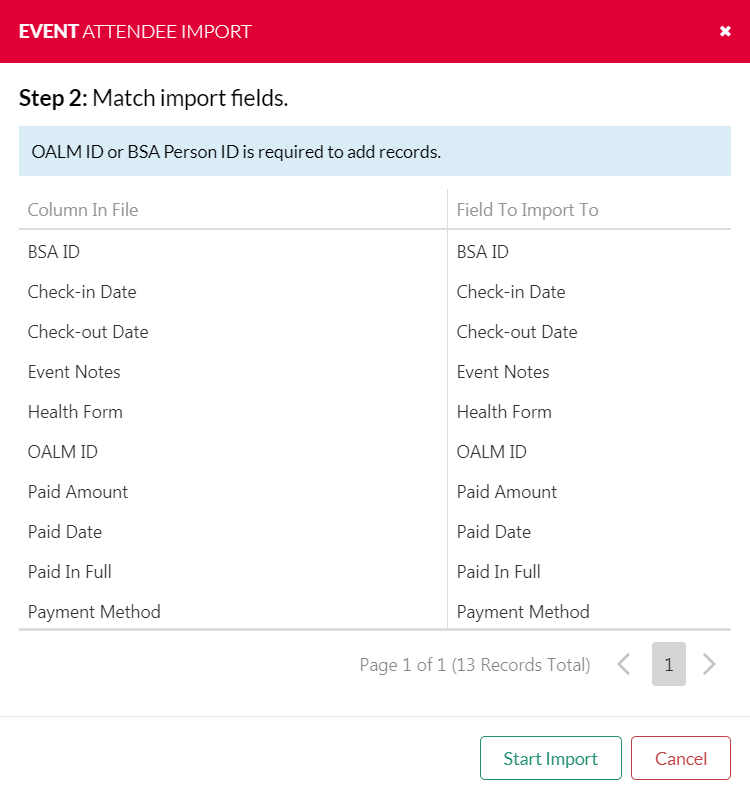
 - A new window will open called "Event Attendee Import" with two columns called "Column In File" and "Field To Import To." Match the fields header from the data sheet being imported with the Lodgemaster field. Lodgemaster will automatically match columns that have exactly the same headers, otherwise, you must manually select which "Field To Import To" matches the "Column In File" field.
To change which field in Lodgemaster get used for a particular column, click or select the down arrow in the "Field To Import To" column and it will open a dropdown with a list of all of the possible fields you can import. Select the field you want it to use.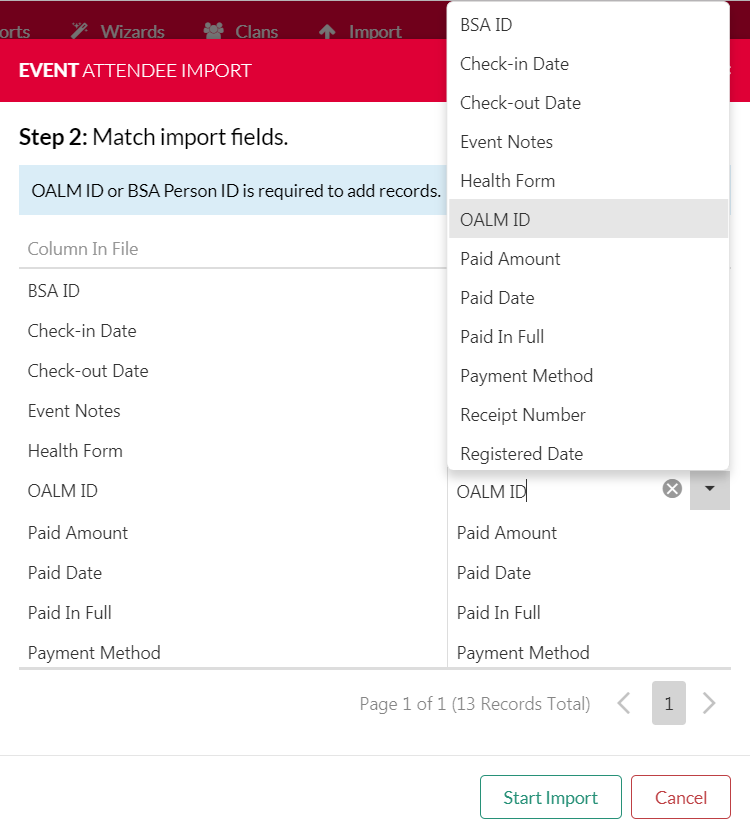
- Once the fields have been matched in both columns, click the "Start Import" button to begin importing the attendees.
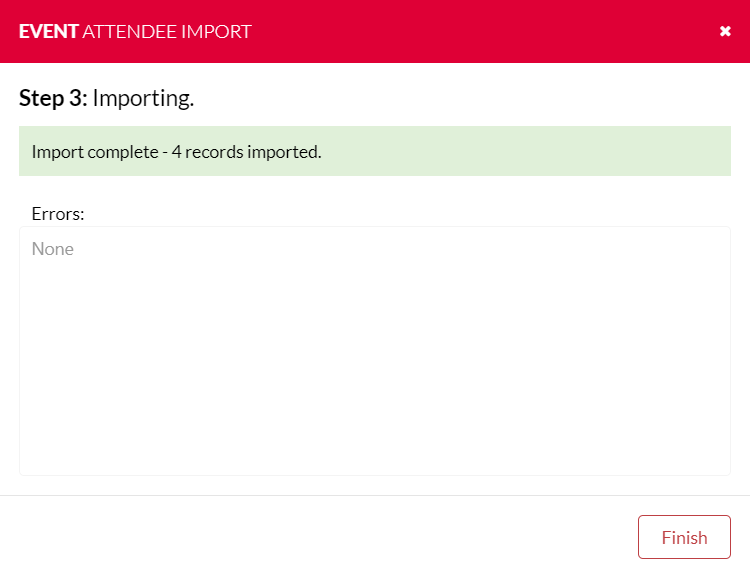
When the import has completed and there are no errors, click "Finish". If there are errors, review the errors to see which attempted imports need to be corrected. Select and copy the error text and paste into a text editor so that you may review the errors later.
Duplicates
Any rows which did not produce an error message were successfully imported. Remove all of the rows from your file except the errors, which may be corrected, otherwise you may create duplicates.